
Sometimes we are asked how to register and embed the Google Analytics code on the site. In general this is fairly simple and easy process, here is a quick guide to the efficient execution of the task.
Let’s start with the fact that in order to use Google services, you first need a Google account. Our recommendation is to sign up for Analytics with a general Google account that will be used to operate Google services in front of your new site, instead of using your private Google account, both for the convenient future transfer of all permissions in one account, and for the ability to share this account with external marketer without disclosing your personal account.
Google services are not limited to Analytics. There are other tools such as Webmaster Tools (GWT) for site code optimization recommendations, Search Tool for optimization and statistics about the visibility of your site in search results, reCAPATCHA which is used to prevent malicious filling of forms on the site, and more.
Sign up and get an analytics code
First lets go to Google Analytics at the following address: https://marketingplatform.google.com/about/analytics

On the top-right corner, click on Start for free
We will now get a screen of identification with our Google account. You need to log in using your Google account credentials, according to what we explained at the beginning of this post.

Click on the blue Start Measuring button, and we’ll get a shortened registration screen for the analytics service:
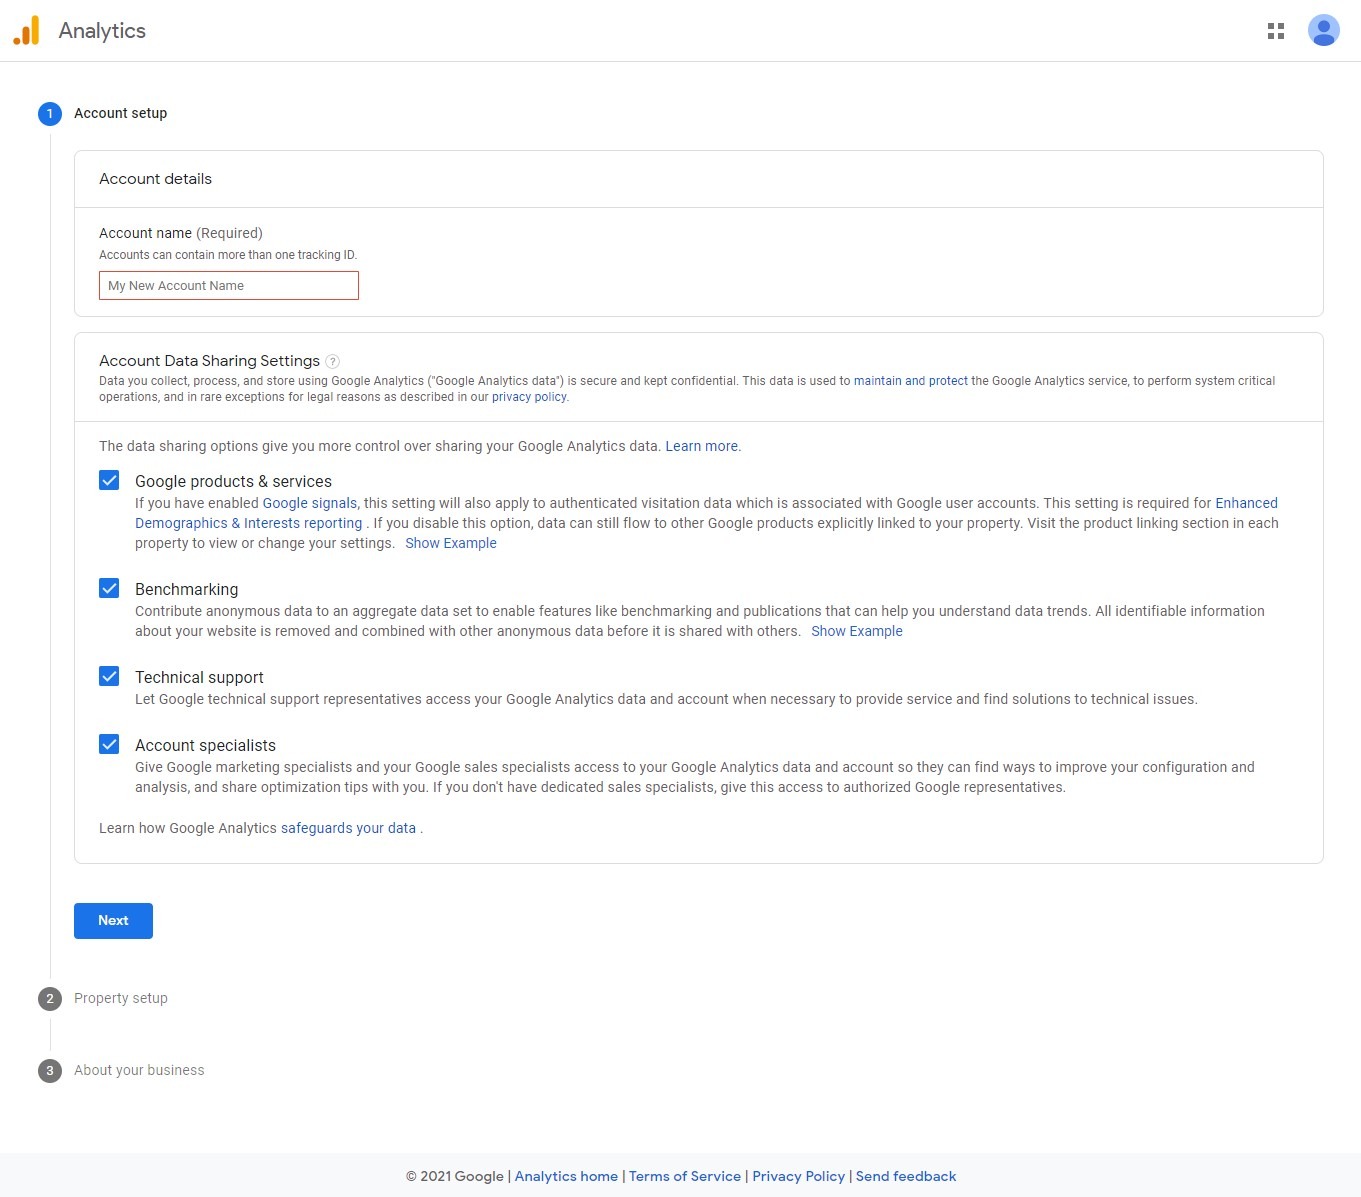
In the first stage fill a name for the new report;
In the second step in the Property name field type the permanent domain name of the site (not the temporary URL), and also select a time zone;
In the third step, answer a number of general questions about the nature of the company and the site, and then click on Create.
You will now get a screen to approve the Google Terms of Use.
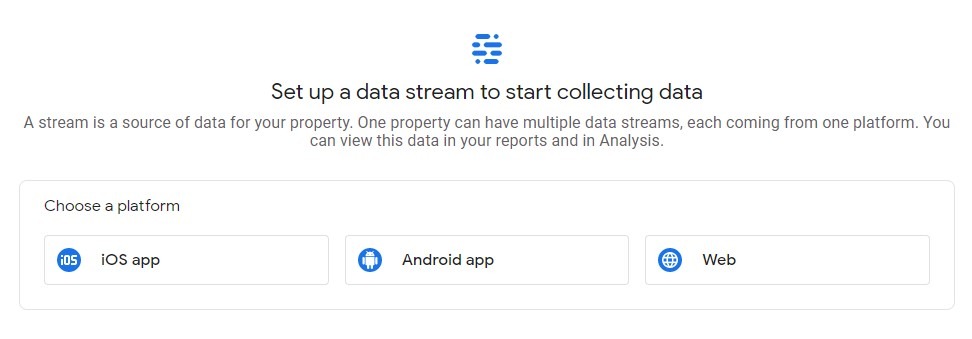
In the following screen choose the type of platform you are registering, simply select Web:
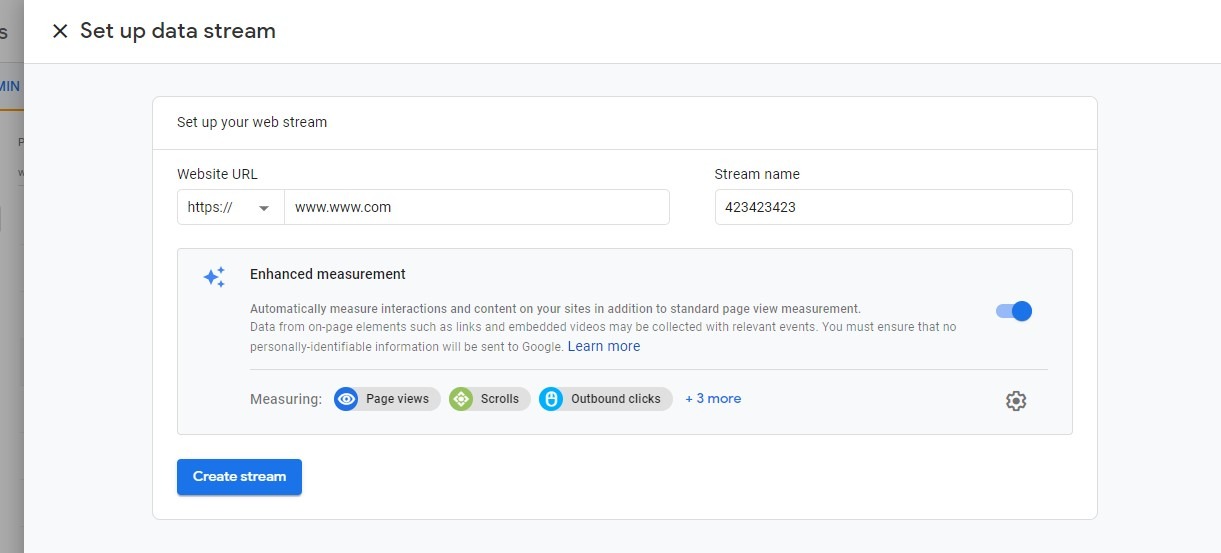
Fill in the name and address of the site again, and click on Create stream:
We have reached the desired stage, click on the Global Site Tag and copy the code received:
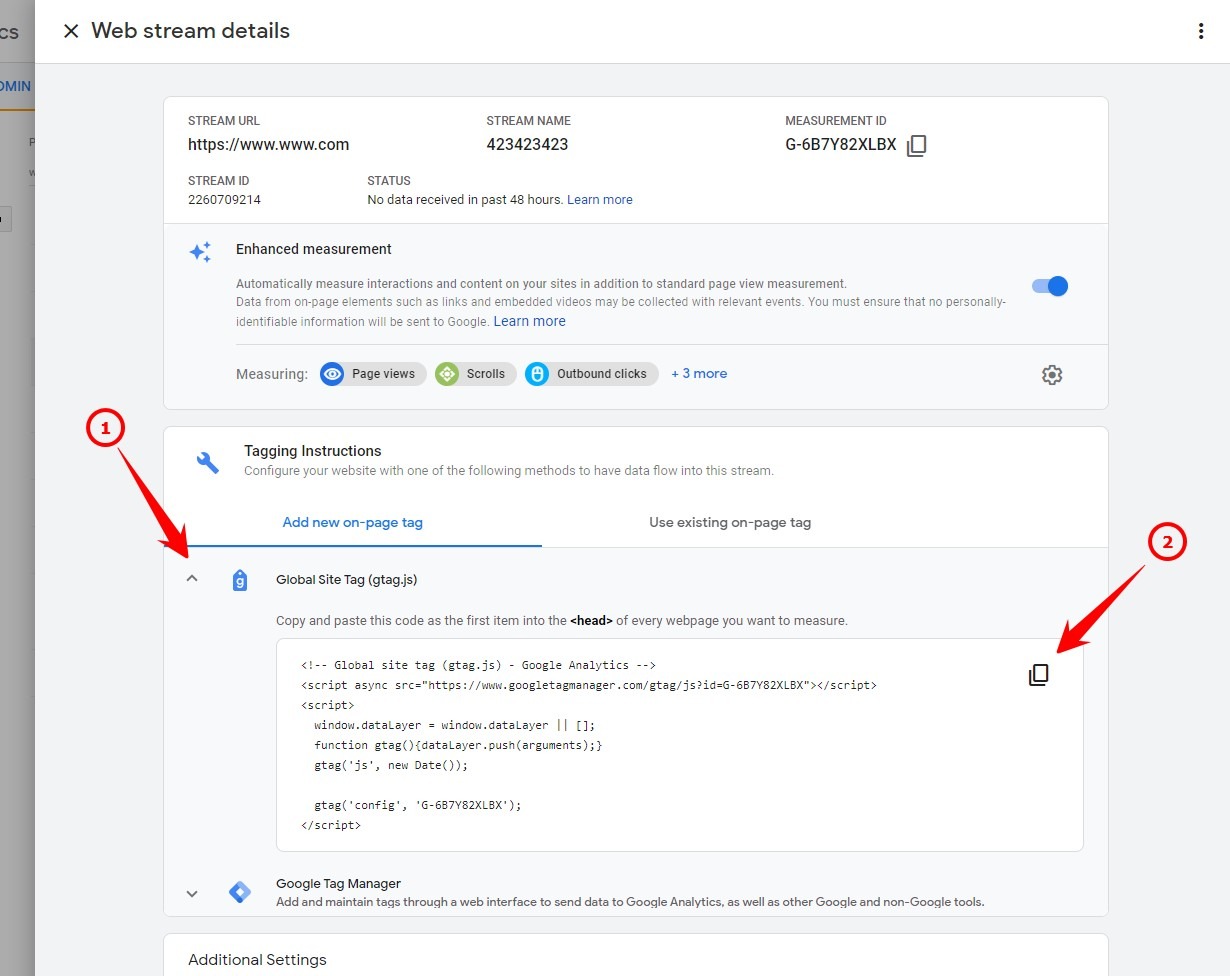
We have now completed the registration process with Google Analytics, it is recommended to create a TXT file and save the code on your computer.
Implementing the code on your website
Now lets login to the WordPress admin panel and proceed to implement the code on the website.
The way the code is implemented on the website may vary from site to site. On sites we develop, we prepare a dedicated field for implementing tracking codes in advance, but if you are trying to implement the code on a site that was not developed by us, you may need to install a separate plugin that enables this option. To prevent confusion, we will not focus on this scenario in this post.
So for a site we have developed, you have an option in the left menu called Theme Options:
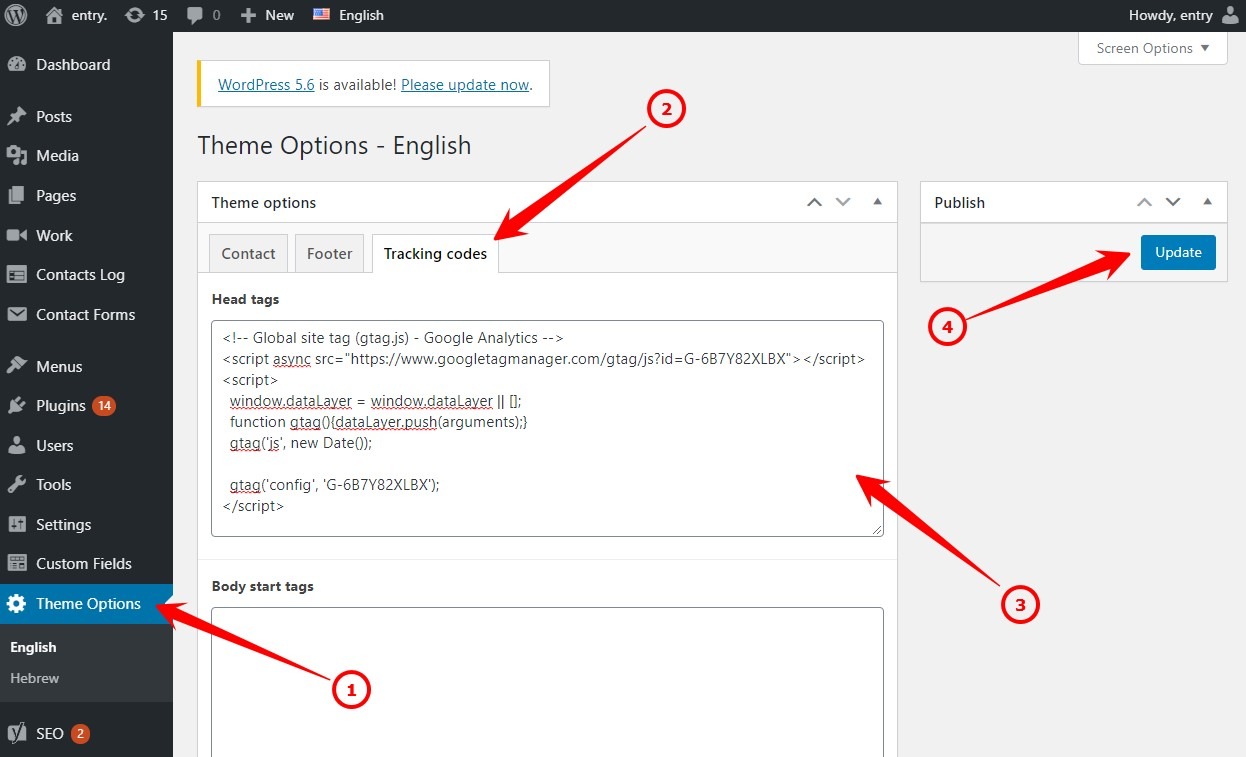
In this screen navigate to the Tracking Codes tab (point 2), then paste the code in the Head Tags (point 3) and finally click on Update (point 4).
You may now see an alert of some security plugin, do not worry you can confirm the operation, it is completely safe. The plugin alerts that someone tries to inject a tracking code into the site (that’s you!), and that only indicates that it works well 🙂
If your site is multilingual, you need to make sure the code is implemented across all languages. The same tracking code can be used, there is no need to produce a separate Analytics report for each language, all depending on the requirements of your marketer. Paste code in other languages is done simply through the submenu under Theme Options as in the screenshot above.